Approval Card Sales: The Partner
Our most popular method for Card Sales.
This feature is no longer supported in the current workflow. However, if you’ve used it prior to August 2025, you’ll continue to have access through the end of 2025. This allows time to transition without disruption, especially during the upcoming holiday season. You can access the old feature by going to studio.whcc.com. For more details and to learn about alternative options, please review the announcement post.
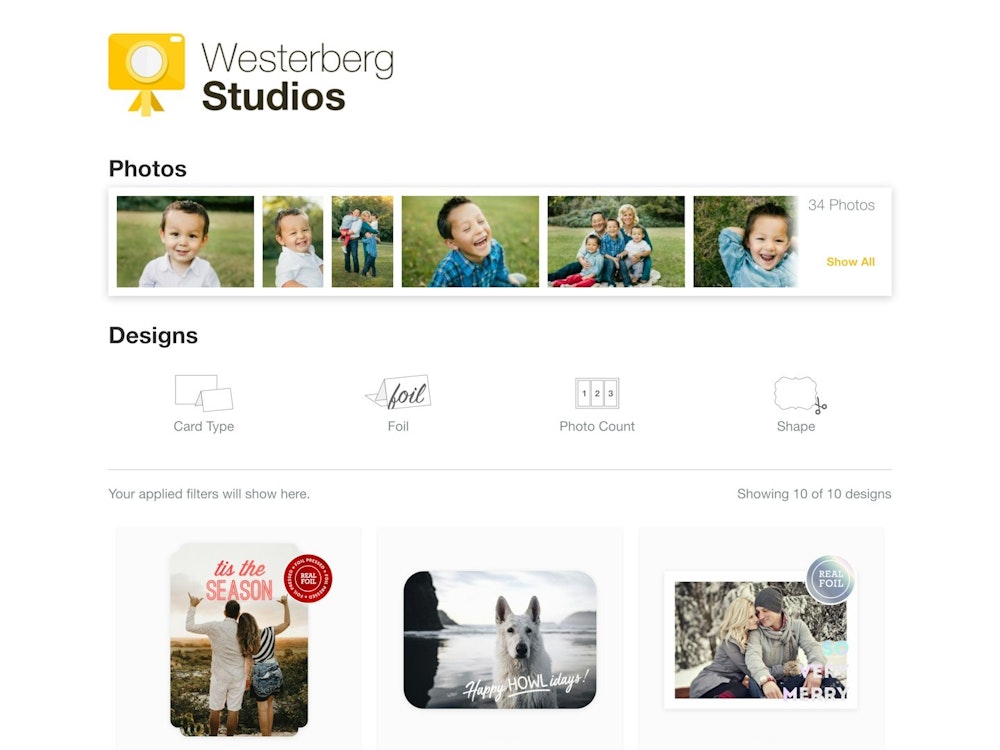
This article will walk you through how to share a branded card shop with your client that enables them to view their images, shop and customize card designs, and approve orders. This method of card sales does not include any payment collection, but if you are interested in adding that process you can learn more by reading our article here.
First Things First
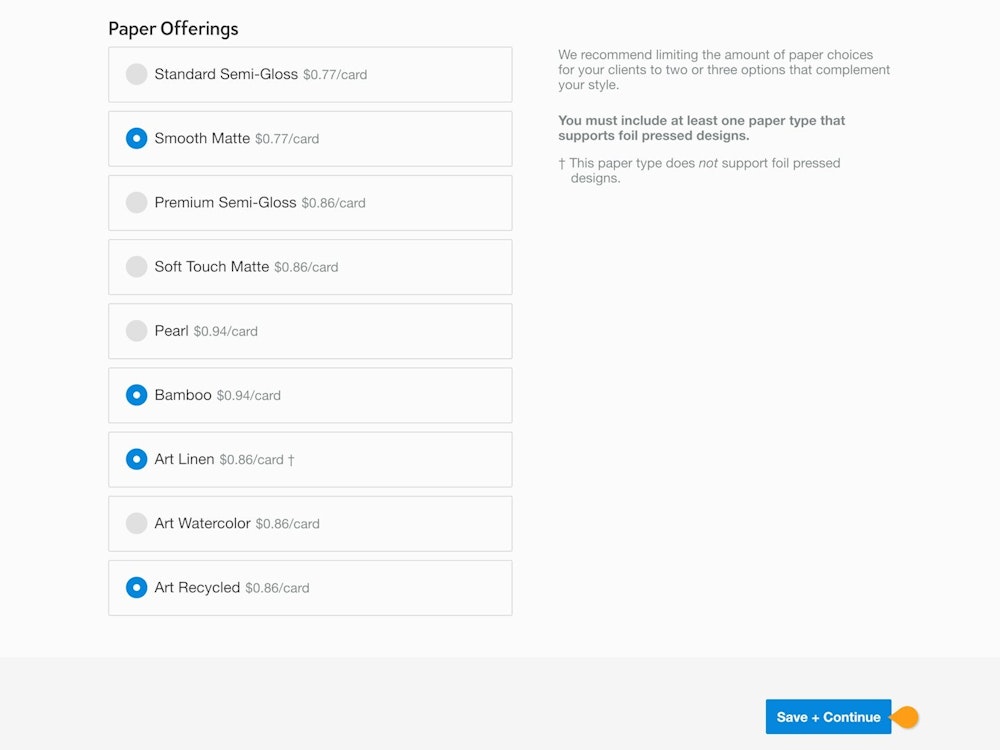
Personalizing the branding and paper offerings are important first steps for this method of card sales. You can do both in your Studio Settings.




Card Collections
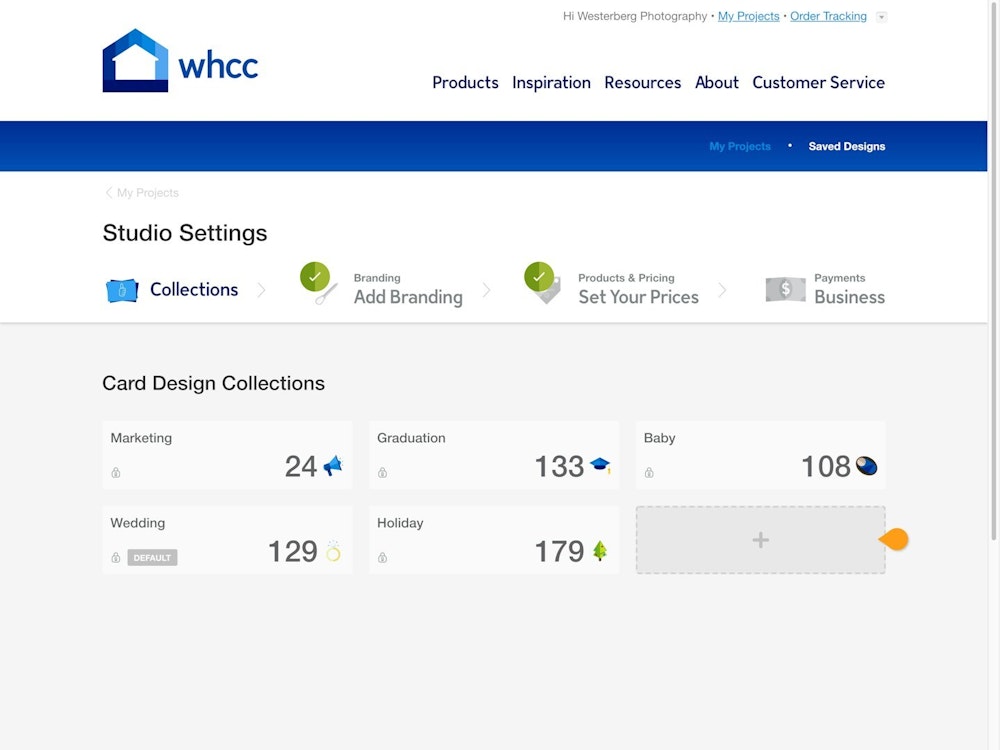
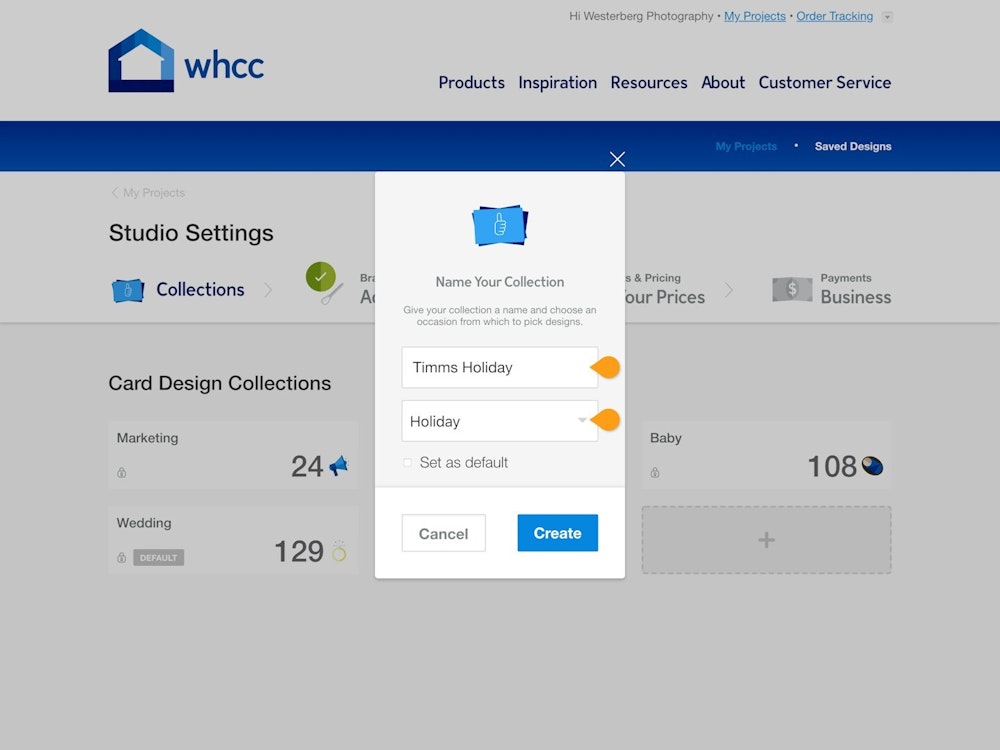
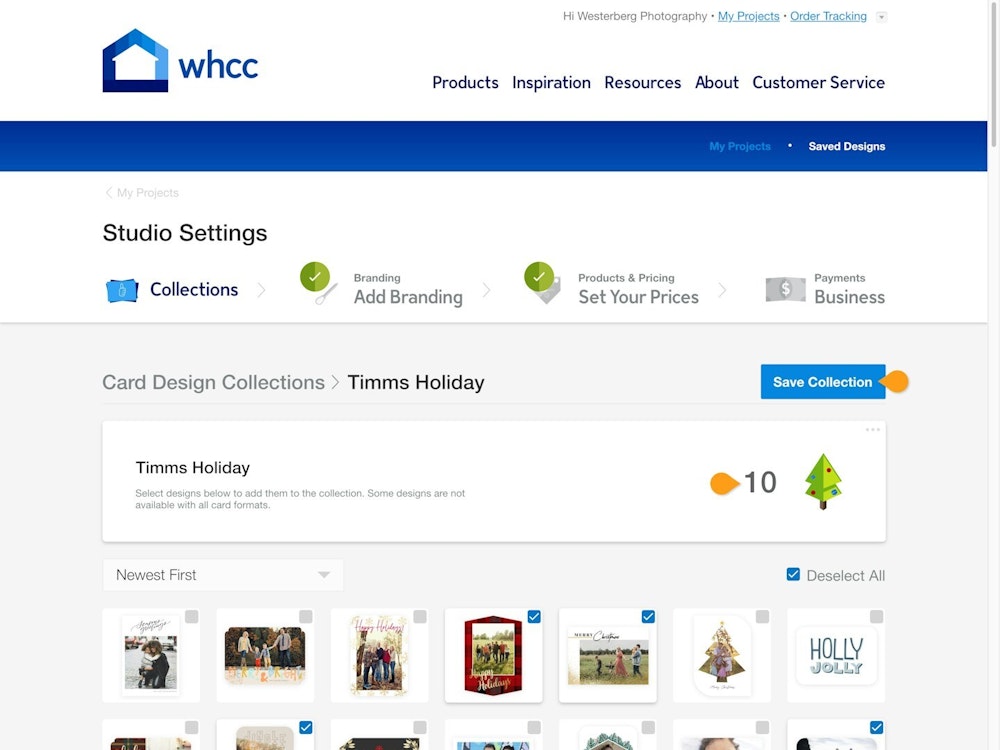
This is an option first step, but we do feel that its the best place to start your Card Sales set up. Y, and making a curated selection is a great way to personalize your client's experience. Head over to Card Collections to begin.


Project Settings
Now that you have a curated collection of cards, its time to update your Project Settings. Go to My Projects and select the project you want to work on. If you don't have a project yet, make one!




Make It Personal
To really impress your client, create a card design or two to send along with their share link. From your project, head to the bottom of your screen and choose a card collection to browse designs.
Choose your favorite design and personalize it with images, foil, shape, layout, and copy. When your client receives their link, it will not only have a selection for them to choose from, it will also have ready to order designs.


When you are finished designing a card, click the Save to Project option in the Review window so save it for your client.


Ready to Share!
You now have a link to send to your client that includes a gallery of their images, a curated collection of card designs, a card or two that are ready to be ordered. Send this link to your client and wait for them to approve your prepared designs or create their own.
When your client has approved a card it will flag the design with an Approved label and reflect that within the project.


Let Your Client Shop
If you prefer to let your client design their card and check out all at once, consider our third card sales method.
Order Submission
When a card is approved it can be customized again by you or submitted to production. Pricing here will reflect your cost for the order, and you will be taken to a checkout screen to select shipping destination, speed, and to add notes or references.


