


Photographing A Wall
Using an image of a wall from your client's home is a great way to make the sales session more personal.
What You'll Need
- Measuring Tool (like a ruler)
- Tape (to hold the ruler)
- Camera (phone or handheld)
- Light (natural and artificial)
Photograph the Wall
Whether your photographing the wall or your client is sending you an image, below are some helpful tips for getting the best image.
- Choose your wall and remove existing artwork or decorations.
- Place a piece of paper or some other measurable object on the wall.
- Stand far enough away from the wall that you have part of the floor or ceiling in the frame, or both. This will help provide visual context.
- Photograph the wall with your camera positioned horizontally, or landscape style.
Natural Light Tips
If the room you are photographing has a window, identify which direction this window faces so that you can maximize your natural light.
- From the North: Try to get your photo between 10am and 2pm.
- From the East: Before 10am.
- From the West: After 2pm.
- From the South: Before 10am or after 4pm.

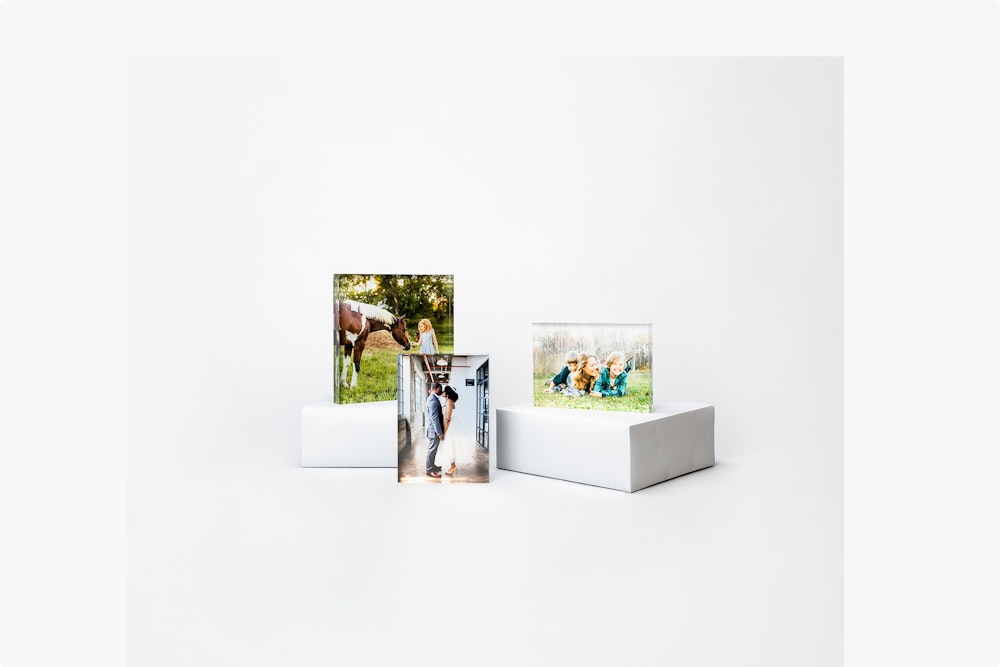
Final Image
Now you have an image ready to use for new wall collage designs!

Next Steps: Calibrate your new image by following the steps at this tutorial.